Add Social Authentication to Remix Run Project | Remix Server
Social Login is a form of single sign-on using existing information from a social network provider like Google, Facebook, Twitter, Github, and so on.
If your app server is Express then you should check out this blog-post where we added Social Auth when our server is Express. In this blog post, we would talk about how we can integrate Login via Google with Remix Run project when our server is Remix Server!
Setting up an app in Google Developer Console and getting GOOGLE_CLIENT_ID and GOOLGE_CLIENT_SECRET
Before we start any development, first we need to set up an app in Google Developer Console and get the necessary credentials.
- Go to https://console.cloud.google.com/
- Select a project or create a new one
- Once the project is selected, go to https://console.cloud.google.com/apis/credentials
- Open the Credentials tab from the sidebar
- Click on
Create Credentialsand selectOAuth client ID - Select Application type as
Web application. - Name your application. For e.g.
LoginApp - In the
Authorised redirect URIssection, click onADD URIand addhttp://localhost:3000/auth/google/callback - Click on
CREATE - You will now get your
GOOGLE_CLIENT_IDandGOOGLE_CLIENT_SECRET. Copy and save them securely.
Create a Remix Run Project
We are going to create a fresh Remix project and choose Remix Server.
npx create-remix@latest
# choose Remix Server
cd [whatever you named the project]
Load Secrets as ENVIRONMENT VARIABLES
- Let us first create a
.envfile to store theGOOGLE_CLIENT_IDandGOOGLE_CLIENT_SECRETdownloaded earlier.
touch .env
vi .env
file: .env

NODE_ENV=development
GOOGLE_CLIENT_ID=XXXXXX // use your GOOGLE_CLIENT_ID
GOOGLE_CLIENT_SECRET=XXXXXX // use your GOOGLE_CLIENT_SECRET
- Install
dotenvpackage
npm i dotenv
- Update NPM scripts
"scripts": {
  "dev": "node -r dotenv/config ./node_modules/.bin/remix dev",
  "start": "node -r dotenv/config ./node_modules/.bin/remix-serve build"
},
Creating Session Storage
We need a session storage object to store the user session. We are going to use the in-built session management utilities provided by Remix.
cd app
mkdir services
touch session.server.js
vi session.server.js
// file: app/services/session.server.js

import { createCookieSessionStorage } from "remix";

export const sessionStorage = createCookieSessionStorage({
  cookie: {
    name: "_session", // use any name you want here
    sameSite: "lax", // this helps with CSRF
    path: "/", // remember to add this so the cookie will work in all routes
    httpOnly: true, // for security reasons, make this cookie http only
    secrets: ["s3cr3t"], // replace this with an actual secret
    secure: process.env.NODE_ENV === "production", // enable this in prod only
  },
});

export const { getSession, commitSession, destroySession } = sessionStorage;
Install Dependencies
For our use case, we would need two packages:
- remix-auth: It is a complete open-source authentication solution for Remix.run applications. This package is heavily inspired by Passport.js so APIs are quite similar.
- remix-auth-socials: This package provides different strategies like
Google,Facebook,Githuband so on. We can use these social strategies to provide the authentication flow in our app.
npm i remix-auth remix-auth-socials
Create Authentication Service
Let us create a file called auth.server.js. In this file, we are going to initialize our authenticator and configure different social strategies.
cd app/services
touch auth.server.js
vi auth.server.js
// file: app/services/auth.server.js

import { Authenticator } from "remix-auth";
import { sessionStorage } from "~/services/session.server";

// Create an instance of the authenticator
// It will take session storage as an input parameter and creates the user session on successful authentication
export const authenticator = new Authenticator(sessionStorage);
Configure Google OAuth Strategy
// file: app/services/auth.server.js
import { GoogleStrategy, SocialsProvider } from "remix-auth-socials";
...

// callback function that will be invoked upon successful authentication from social provider
async function handleSocialAuthCallback({ profile }) {
  // create user in your db here
  // profile object contains all the user data like image, displayName, id
  return profile;
}

// Configuring Google Strategy
authenticator.use(new GoogleStrategy({
    clientID: process.env.GOOGLE_CLIENT_ID,
    clientSecret: process.env.GOOGLE_CLIENT_SECRET,
    scope: ["openid email profile"],
    callbackURL: `http://localhost:3000/auth/${SocialsProvider.GOOGLE}/callback`;
  },
  handleSocialAuthCallback
));
Create Routes that will handle our social login
- We are going to create a new route
auth.google.js. Whenever the user clicks on theLogin with Googlebutton then a request would be sent to this route and it would initiate the entire authentication flow.
cd app/routes
touch auth.google.js
// file: app/routes/auth.google.js

import { authenticator } from "../services/auth.server.js";
import { SocialsProvider } from "remix-auth-socials";

export const action = async ({ request }) => {
  // initiating authentication using Google Strategy
  // on success --> redirect to dasboard
  // on failure --> back to homepage/login
  return await authenticator.authenticate(SocialsProvider.GOOGLE, request, {
    successRedirect: "/dashboard",
    failureRedirect: "/",
  });
};
In the above code snippet, we export an action that would initiate our Google strategy authentication flow. If the user is successfully authenticated then it will redirect the user to /dashboard else back to the / homepage route.
- We are going to create a new route
auth.google.callback.js. This route is theAuthorised redirect URIsthat we provided initially during our app setup. Whenever users are successfully authenticated then Google will send them to this route.
cd app/routes
touch auth.google.callback.js
// file: app/routes/auth.google.callback.js

import { authenticator } from "../services/auth.server";
import { SocialsProvider } from "remix-auth-socials";

export const loader = ({ request }) => {
  return authenticator.authenticate(SocialsProvider.GOOGLE, request, {
    successRedirect: "/dashboard",
    failureRedirect: "/",
  });
};
Create Routes to test the flow
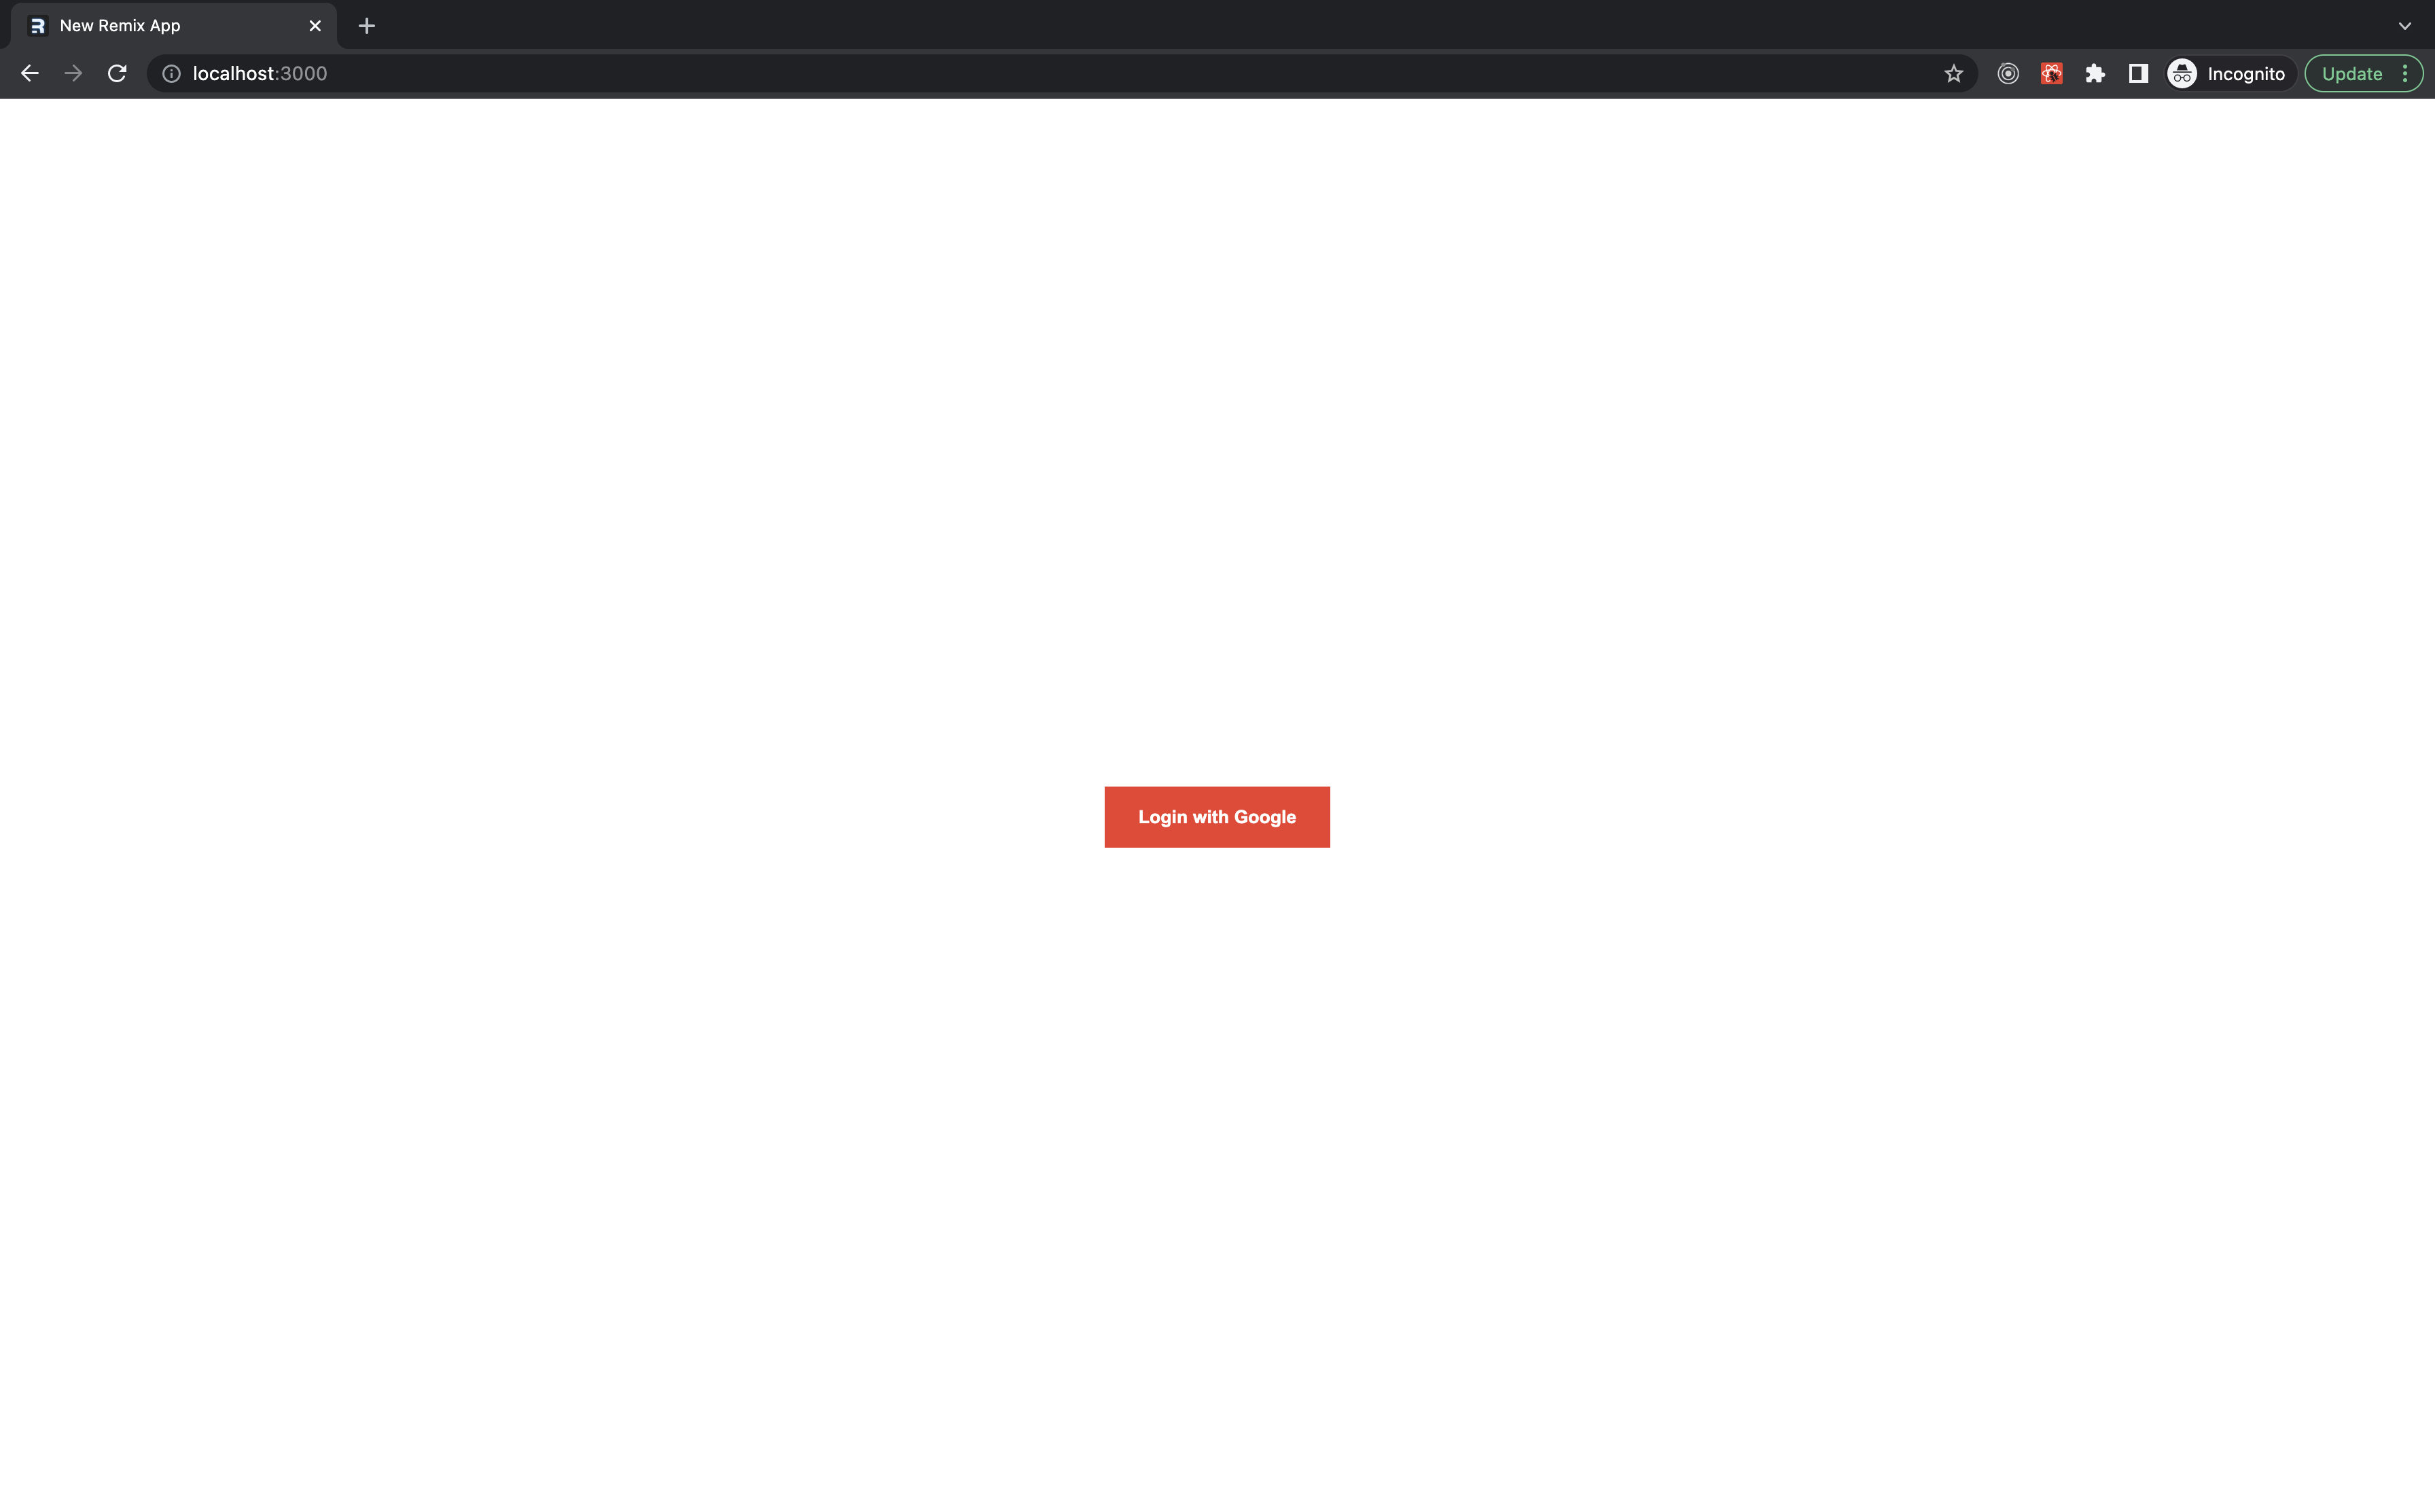
- Let us add a
Login with Googlebutton to our homepage.
// file: app/routes/index.js

import { Form } from "remix";
import { SocialsProvider } from "remix-auth-socials";

const CONTAINER_STYLES = {
  width: "100%",
  height: "100vh",
  display: "flex",
  justifyContent: "center",
  alignItems: "center",
};

const BUTTON_STYLES = {
  padding: "15px 25px",
  background: "#dd4b39",
  border: "0",
  outline: "none",
  cursor: "pointer",
  color: "white",
  fontWeight: "bold",
};

const IndexPage = () => {
  return (
    <Form
      method="post"
      action={`/auth/${SocialsProvider.GOOGLE}`}
      style={CONTAINER_STYLES}
    >
      <button style={BUTTON_STYLES}>Login with Google</button>
    </Form>
  );
};

export default IndexPage;
- Now, let us create the
dashboardroute. It will open on successful user authentication.
// file: app/routes/dashboard.js
import { useLoaderData } from "remix";
import { authenticator } from "../services/auth.server.js";
const CONTAINER_STYLES = {
width: "100%",
height: "100vh",
display: "flex",
justifyContent: "center",
alignItems: "center",
flexDirection: "column",
};
const BUTTON_STYLES = {
padding: "15px 25px",
background: "#dd4b39",
border: "0",
outline: "none",
cursor: "pointer",
color: "white",
fontWeight: "bold",
};
export const loader = async ({ request }) => {
// authenticator.isAuthenticated function returns the user object if found
// if user is not authenticated then user would be redirected back to homepage ("/" route)
const user = await authenticator.isAuthenticated(request, {
failureRedirect: "/",
});
return {
user,
};
};
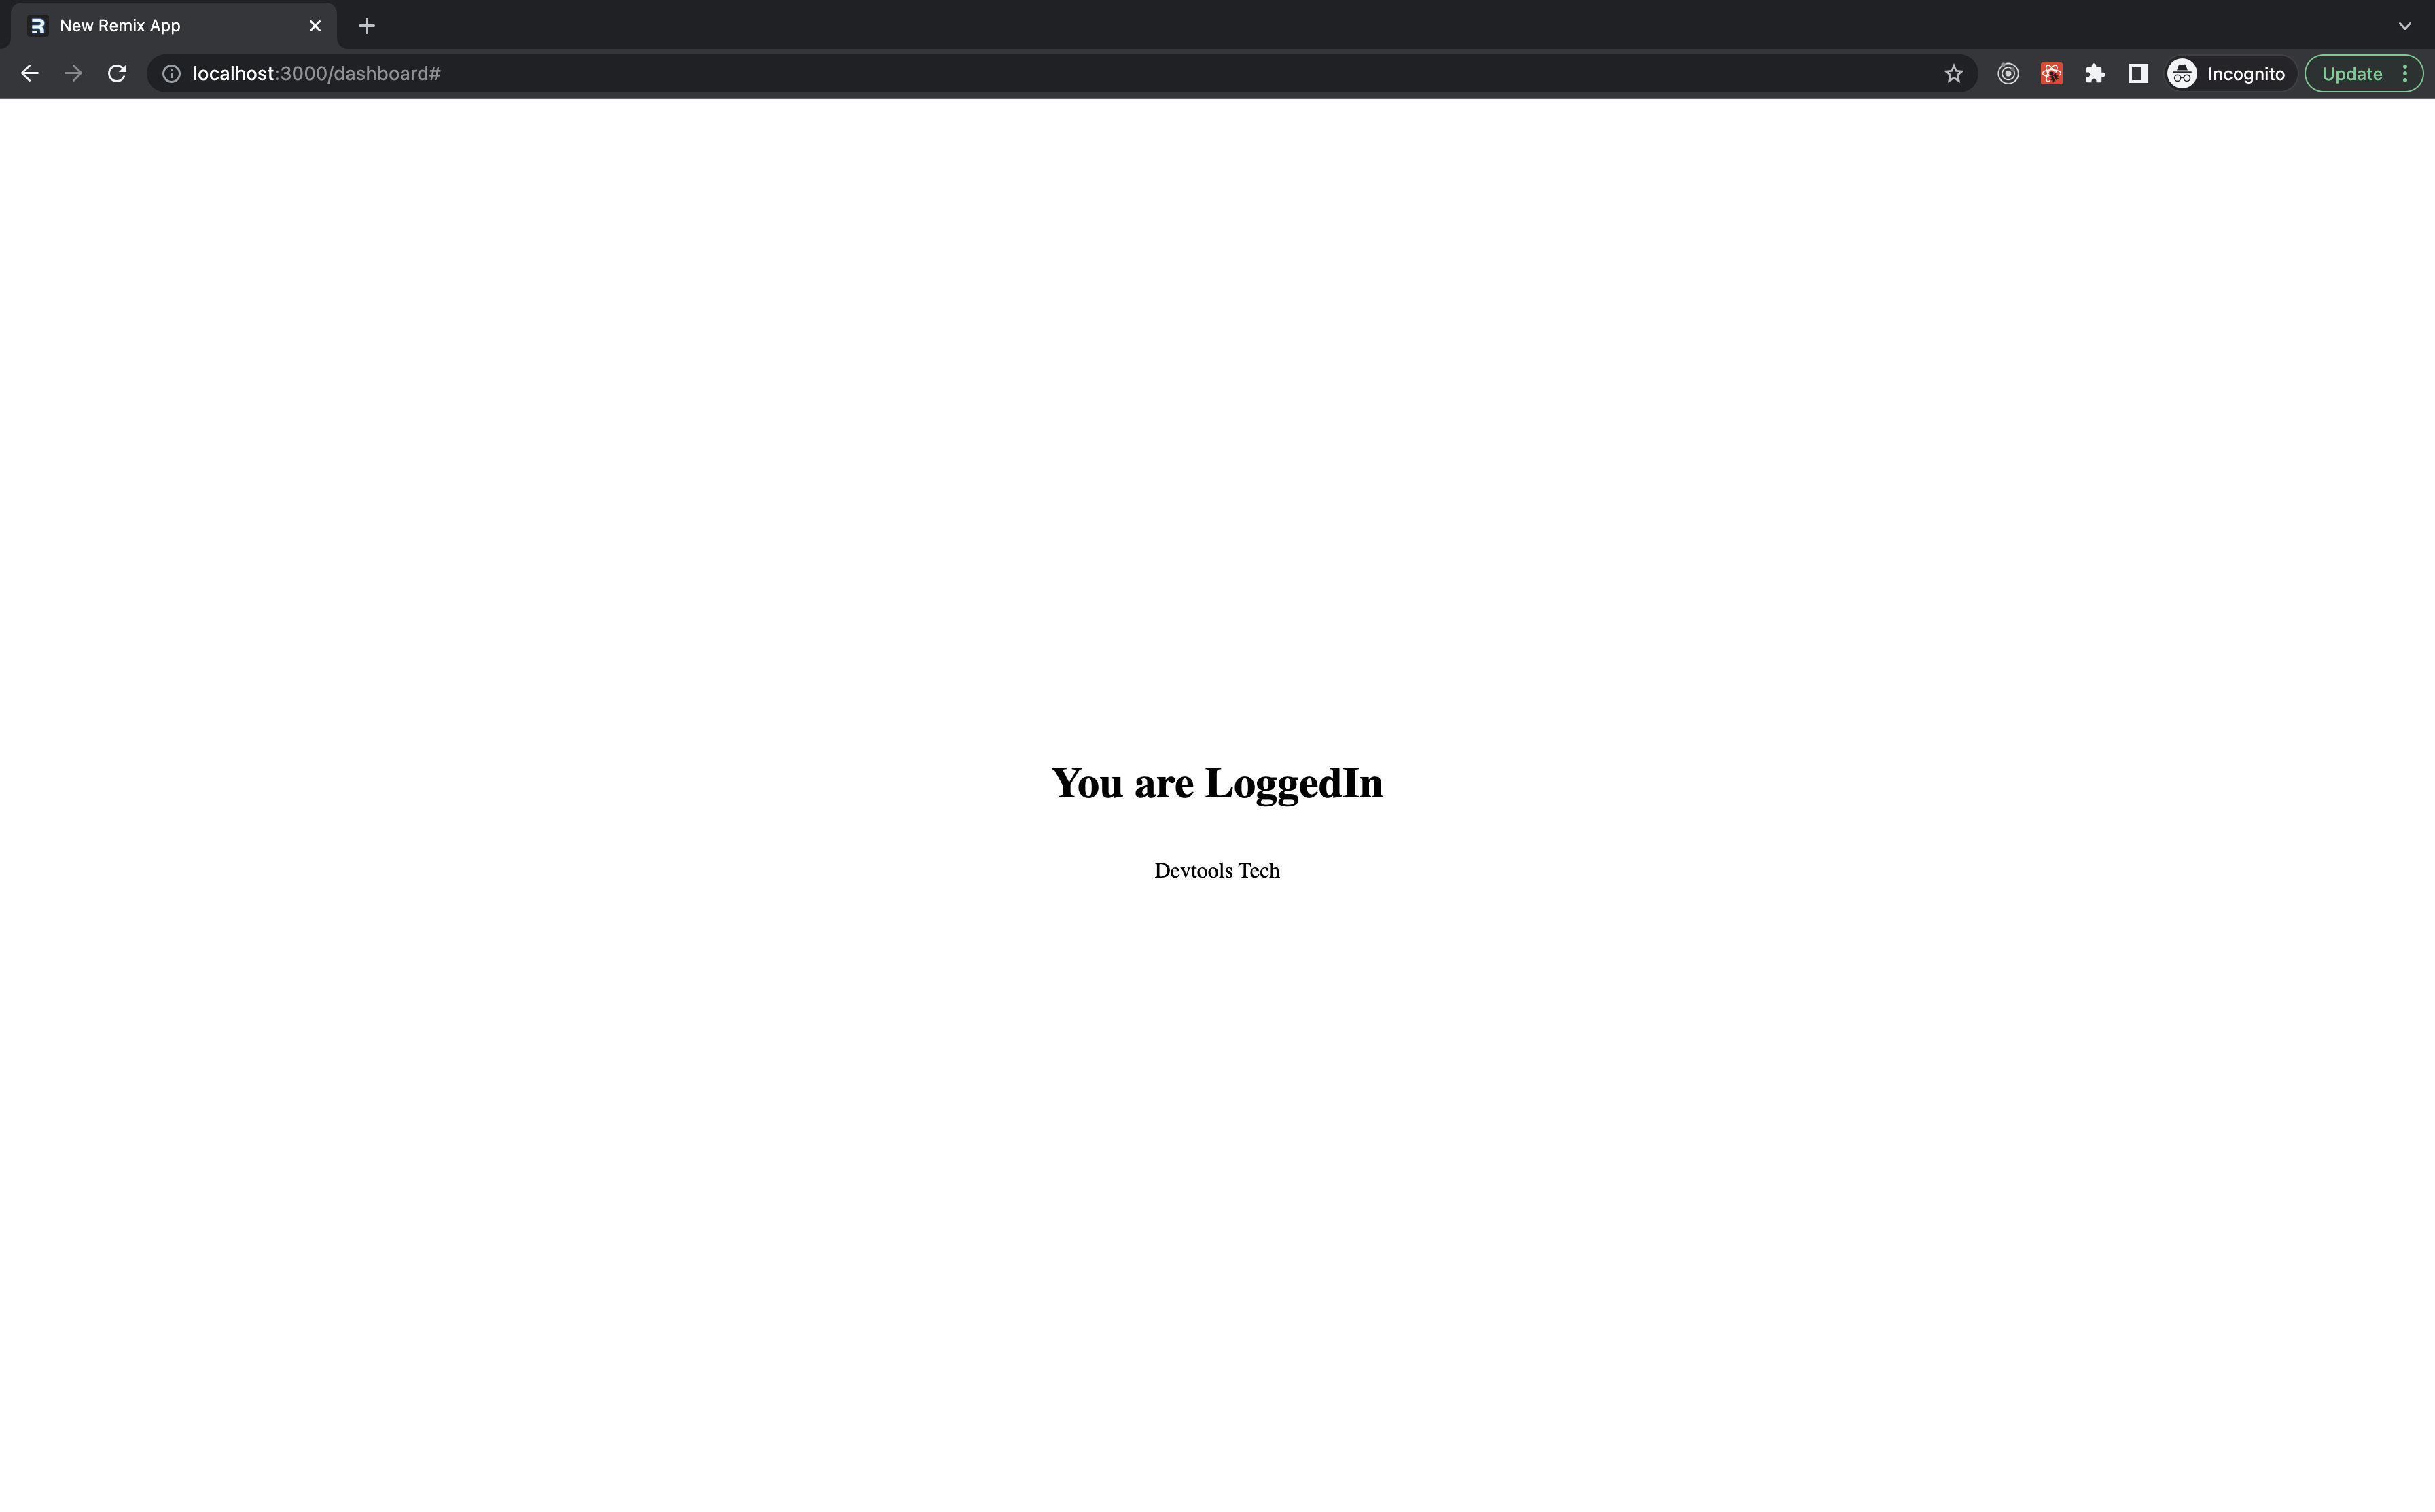
const Dashboard = () => {
// getting user from loader data
const { user } = useLoaderData();
// displaying authenticated user data
return (
<div style={CONTAINER_STYLES}>
<h1>You are LoggedIn</h1>
<p>{user.displayName}</p>
</div>
);
};
export default Dashboard;
Adding Logout Functionality
Let us create a route logout. When visited, this route is going to delete the user session and log out the user.
cd app/routes
touch logout.js
// file: app/routes/logout.js

import { authenticator } from "../services/auth.server.js";

export const action = async ({ request }) => {
  await authenticator.logout(request, { redirectTo: "/" });
};
Let us update our Dashboard route to show a button for the user to log out.
// file: app/routes/dashboard.js
import { useLoaderData, Form } from "remix";

...

const Dashboard = () => {
  ...
  // displaying authenticated user data
  return (
    <div style={CONTAINER_STYLES}>
      ...
      <Form action="/logout" method="post">
        <button style={BUTTON_STYLES}>Logout</button>
      </Form>
    </div>
  );
};

...
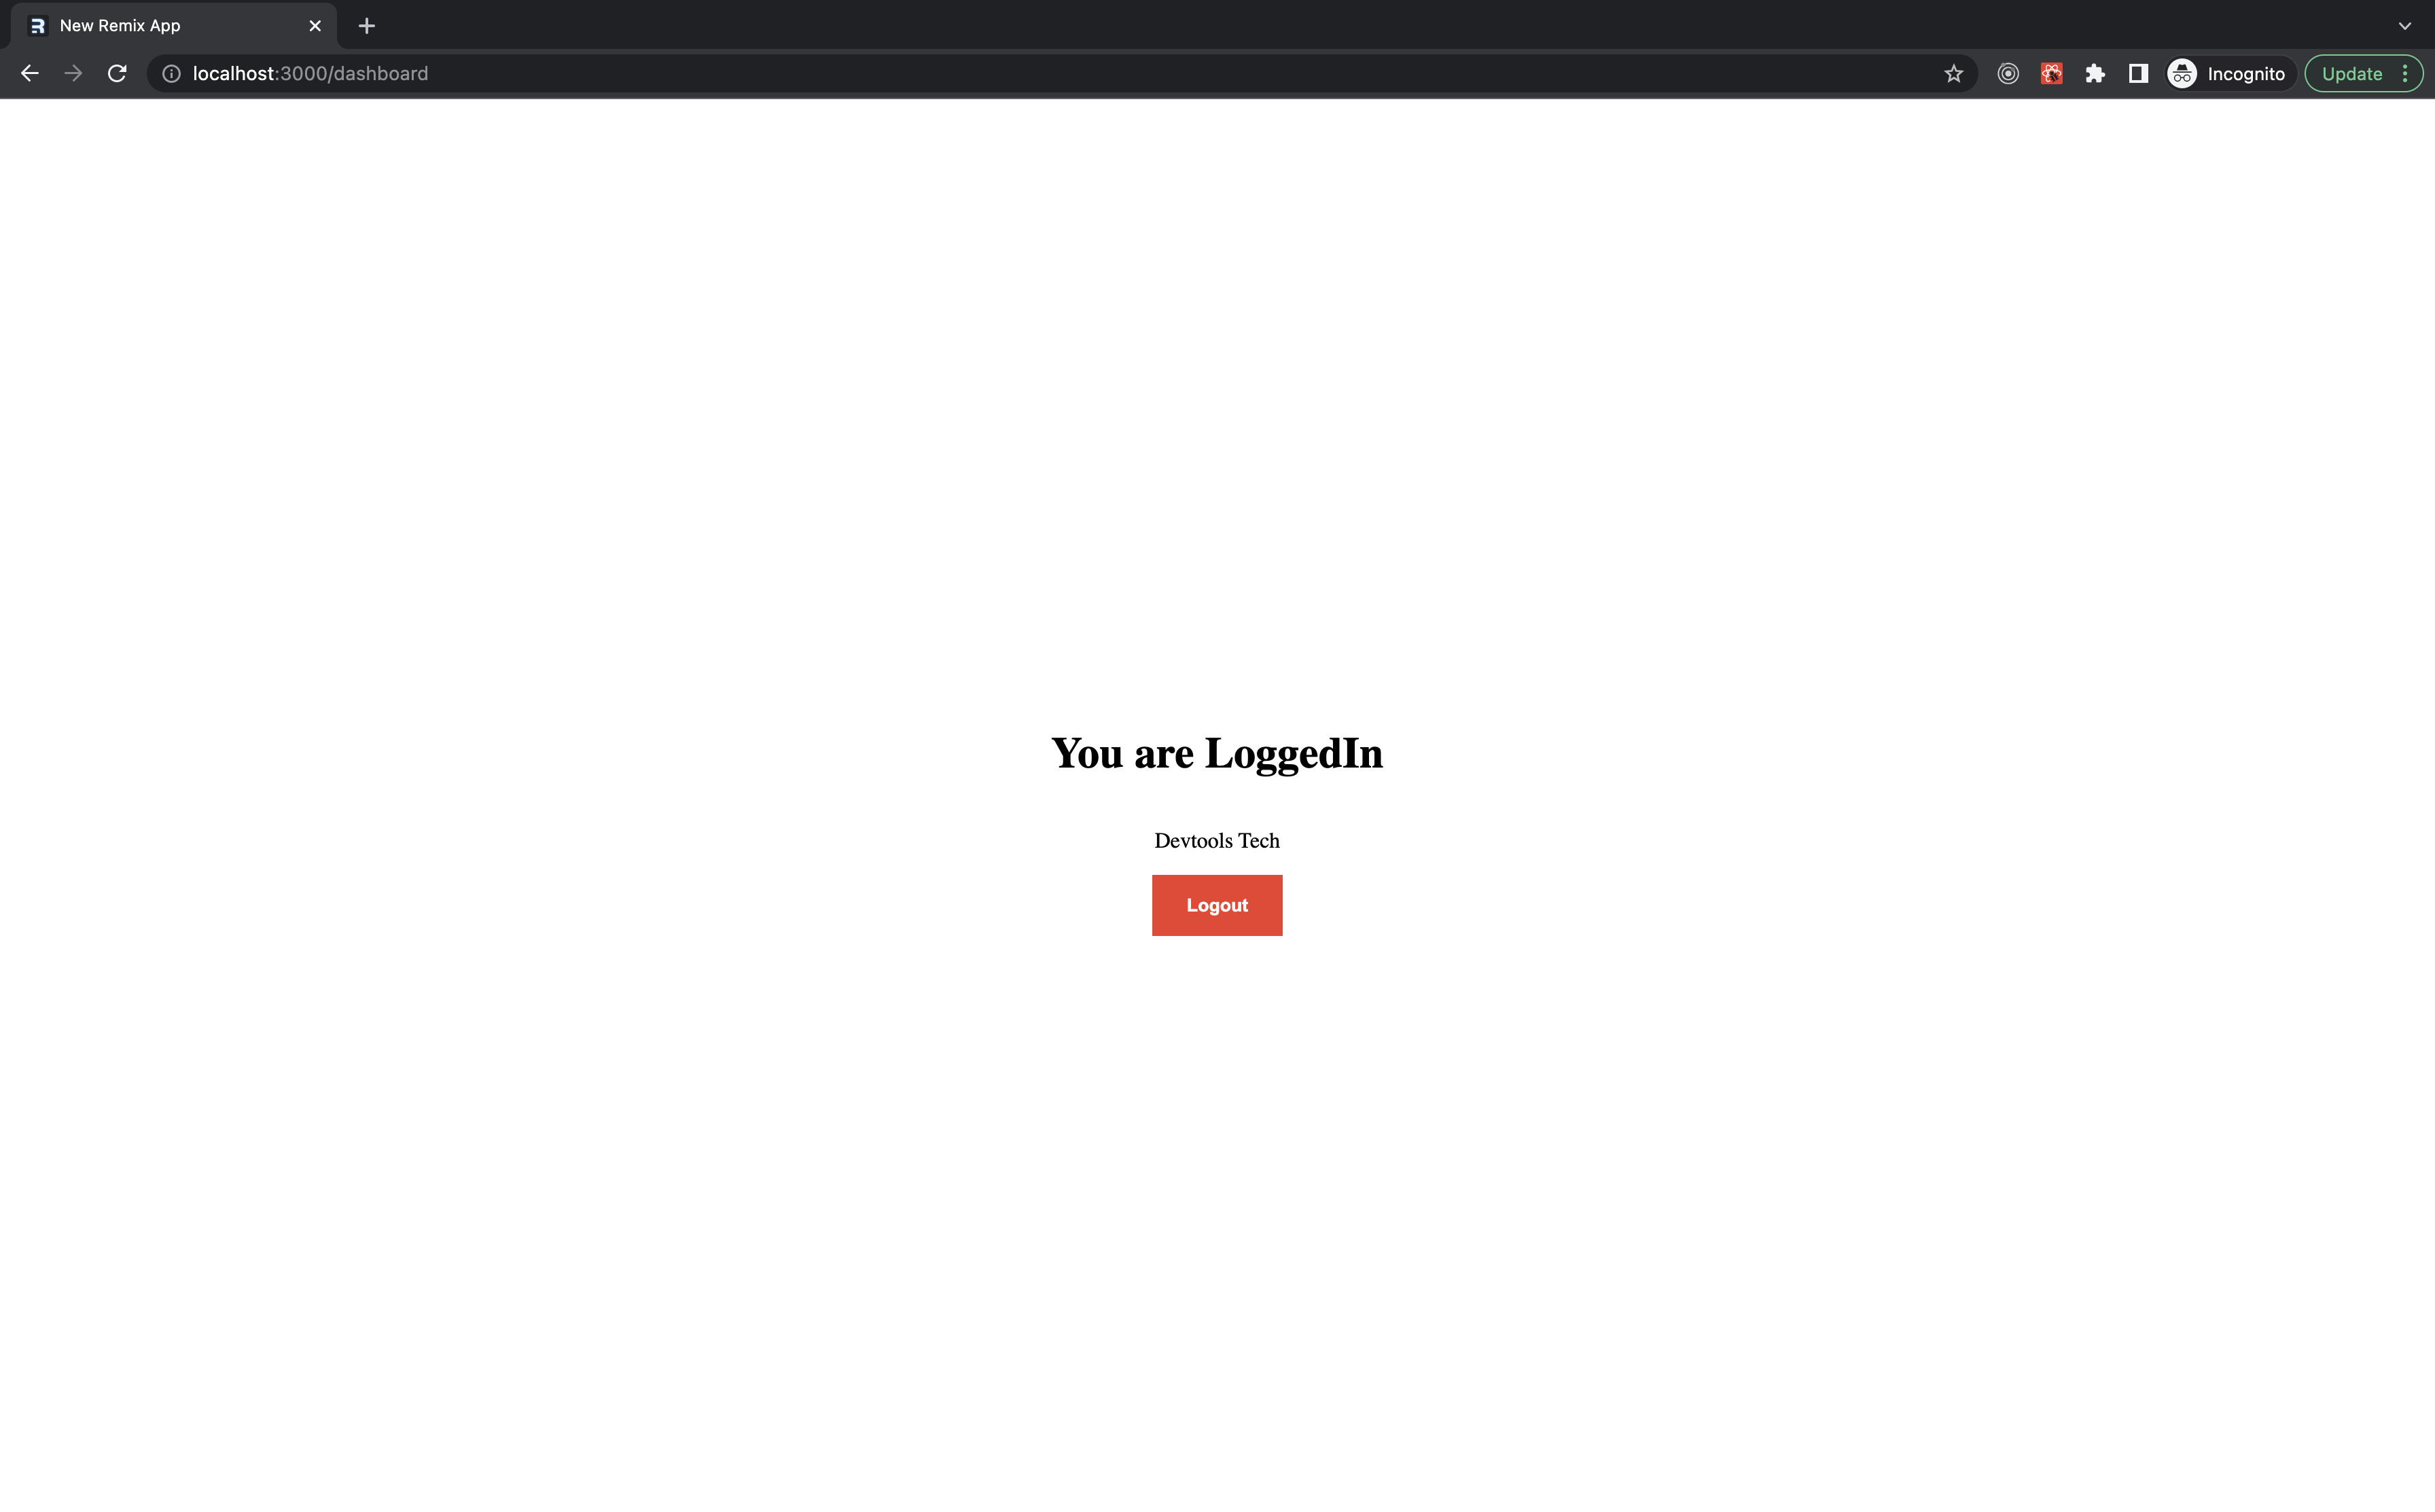
Now, when the user clicks on the Logout button then form submission would happen and a request would be made to /logout that would eventually delete the user session!
Demo
Live Demo
You can check out the live demo here -- https://devtools.tech/login
Source Code
You can find the entire source code for this tutorial here: https://github.com/Devtools-Tech-Team/remix-run-social-authentication-example
I hope this blog post helped you in some way. Please do share it and show our content much-needed love! :D
If you feel something is missing/wrong/improvement is possible then feel free to reach out -- Devtools Tech and Yomesh Gupta